So many clients have Balayage inspiration images or come in asking for Balayage. Whether this is a balayage on blonde hair or anywhere else on the colour spectrum, all are looking for that effortless look and that’s made it such a popular trend. Perfect on all hair types and textures, this low maintenance technique has been a favourite with celebrities, pro-artists and social media influencers. In this three-part blog series, we’ll focus on the spectrum of balayage and the three main colours, Blonde, Caramel and Brunette. Starting with the basics of application we’ll take you through the consultation process and finally onto a suggested formula, working with some of our most affordable products that deliver the best results.
A Spotlight on Balayage Part 1: Blonde Balayage
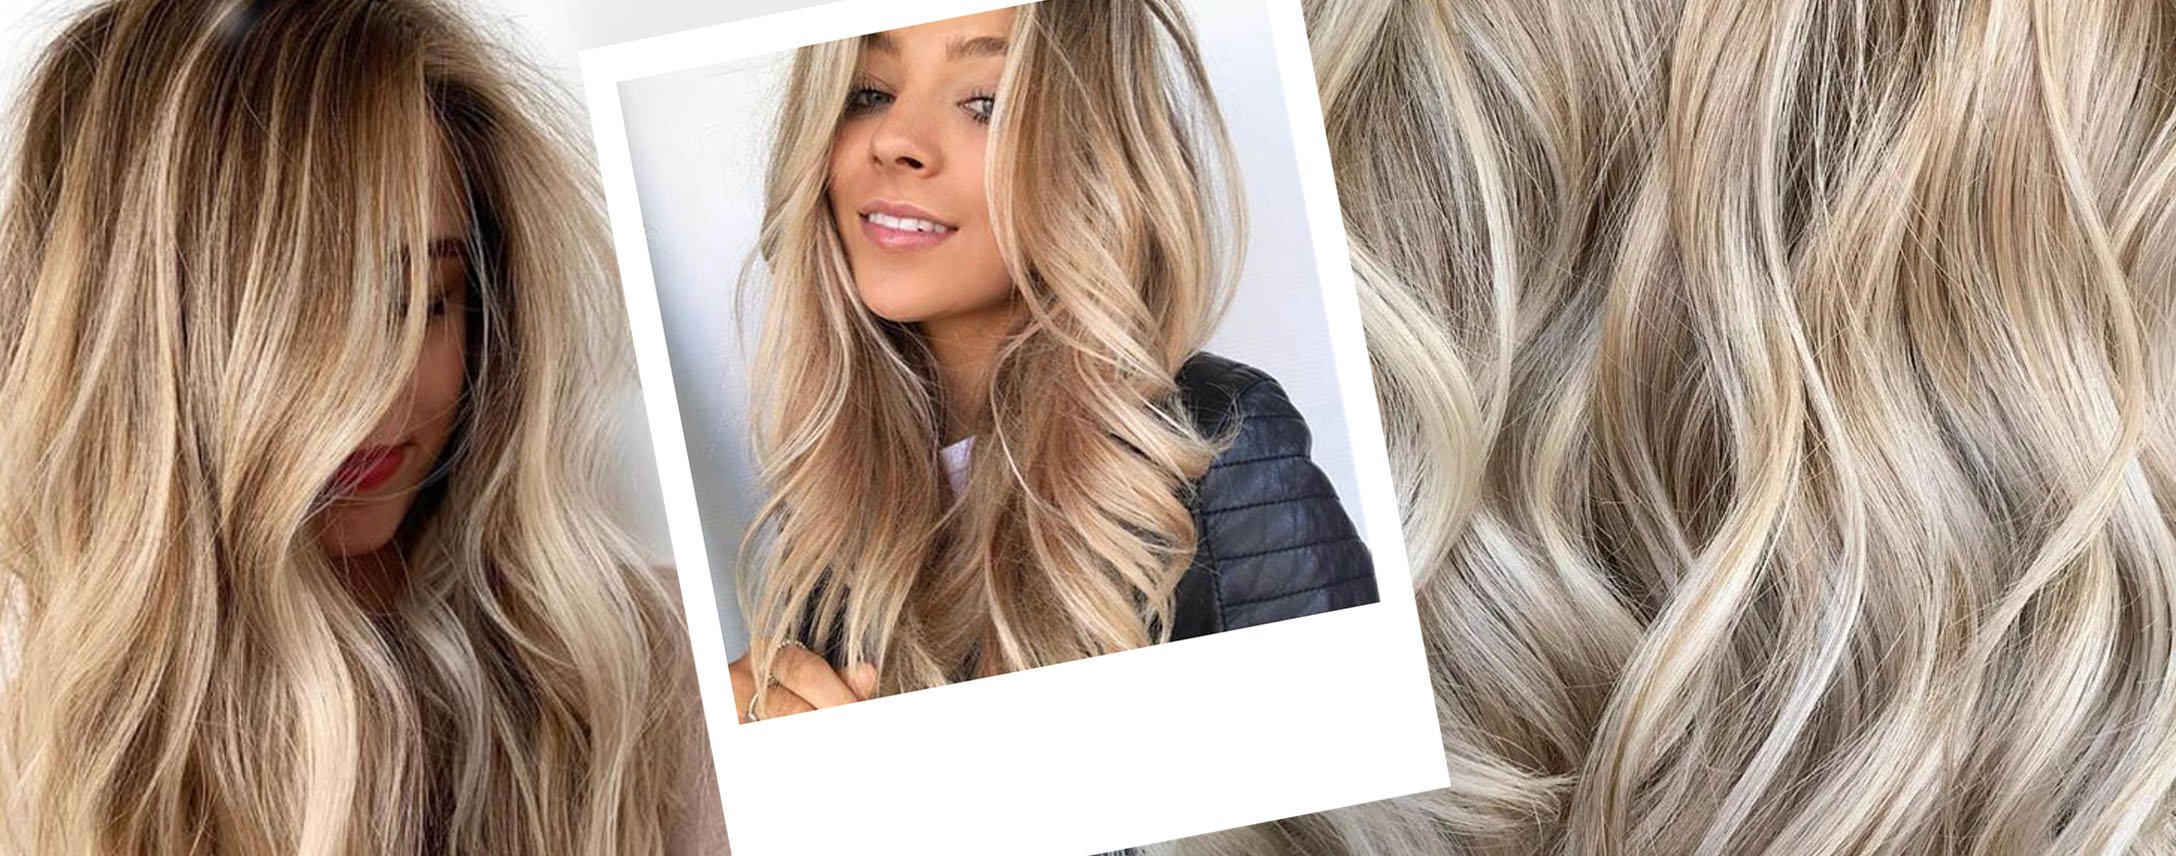
Part 1: Blonde Balayage
What’s termed ‘Blonde Balayage’ is still the top choice with clients requesting balayage. From platinum to ash, its palette is versatile enough to cover a huge number of looks. This is our go-to guide to help and inspire you when it comes to tackling that bright blonde.
Basic Balayage Application Step-by-Step Guide
Balayage is a freehand painting technique, meaning you can customise it to frame your client’s face perfectly, but there are a few rules you’ll need to follow. Our resident Hair Colour Specialist, Rena details her professional tips on how to do the perfect V-section balayage.
Step 1
Using hair grips, divide your client’s hair into three sections:
- Back
- Left-hand side
- Right-hand side
Step 2
You have two options when choosing your bleach powder: regular bleach and clay bleach.
- Regular bleach from brands such as XP and S-PRO is a high quality affordable, ideal if you have a lot of clients wanting to lift their colour.
- Clay bleach, such as Kemon Clay Powder Bleach, is a thicker consistency and won’t dry out as quickly as regular bleach powder.
Whichever bleach you choose, mix together with your developer at a 1:1 ratio for a thick consistency and For extra protection on your client’s hair you can also add Olaplex No.1 Bond Multiplier into your mix.
Step 3
Starting at the back and working your way from bottom to top, take small sections of the hair and apply your mixture freehand with your tint brush to create a V shape with your bleach. Make sure it penetrates sufficiently into the hair and leave to develop for the recommended time.
Step 4
Wash out the bleach and apply your toner, which has been mixed with a developer at a 1:1 ratio. Leave in to develop for the recommended time and wash out. Proceed to blow-dry and style.

The Consultation: When is a blonde balayage not achievable on a client?
While Balayage does work on all hair types and textures there are some limitations that you need to make sure you look out for when delivering a Balayage service. This is where your consulation skills come in. Know what to ask and what to lookout for before your start your Balayage.
Clients who have used an at-home hair dye
While it is possible to perform a balayage on a client who’s used an at-home dye, you will need to remove it beforehand. Depending on the type, and your client’s past colour history, you can remove it using Colour Undo and perform their balayage on the same day without damaging the hair.
Porous hair
It’s important to remember that porous hair is susceptible to breakage, and bleaching it may cause further damage. Depending on the hair’s condition, you can repair its broken bonds during your client’s appointment by adding the Olaplex No.1 Bond Multiplier into your balayage dye. After the dye has developed, follow up with the Olaplex No.2 Bond Perfector as an additional backbar treatment.
Black or dark bases – you can only lift so far.
This depends on the shade of blonde your client desires, as blonde balayage generally works best on a base colour of 8 or above. Black and very dark brown shades are difficult to lift, so you’ll need to inform your client it may take several salon visits to achieve their results and so avoid damage.
Be inspired this Valentine’s Day
Blonde Balayage Recipe Guide (base level 8 or above)
Step 1: Lightening
Using the V-section technique above, lift your client’s hair to level 10 or above with your chosen bleach and developer. Leave it in for the recommended development time.
Step 2: Toning
When choosing your client’s blonde toner, remember that brands will use different numbering systems for their colours. Depending on the desired results, we’ve grouped some of our top brands together into ones that give the same effect. No matter which one you pick, mix it with the appropriate developer at a 1:1 ratio and leave in for 5 to 15 minutes before rinsing out.
After bleaching to remove brassy yellow tones:
Ash tone:
After bleaching to remove brassy tones:
Ash tone:
After bleaching to remove yellow tones:
Champagne Blonde:
*Please not this is a formulation guide only. As always, make sure to customise your colour depending on your clients natural pigments, underlying pigments and desired results.
Shop your blonde toners now


Learn more about our colour ranges and switch and save offers that
will help you create incredible Balayage looks. XP Colour is a great
place to start; an easy to work with formulation, twice the product
per tube and an incredible shade range for blondes. Next we talk about
Caramel Balayage in Part 2 of out Focus on Balayage Series.
Learn more about our XP Colour Collection